Engine SwapThe first step to this project was finding someone more experienced than me to help. I knew I couldn't do this job on my own, as it was beyond my skill set. I reached out to as many people as I could, and luckily someone from my school's Car Club said he'd be willing to help! Next, I had to source a replacement motor. While replacing the failed rod bearings was an option, borescoping my motor showed the piston walls were scored, which was causing low compression and oil consumption issues. Thus, replacing the motor made more sense, and required less technical know-how. I scoured the internet for replacement motors before finding one in Long Island (About a 4 hour drive from my house) I called ahead to reserve it and ensure it was in good condition. This motor came out of a low-mileage crashed Mazda 6.
 Upon arriving I checked out the motor, and did a very rudimentary health check on the motor by spinning the flywheel with my foot. I could hear (and feel) the motor build compression, which was all I could check without tools.
 The next hurdle was transporting my car to my friend. He lived in Maryland and my car was in Pennsylvania. Given that my motor had about 15 minutes of run-time left in it, driving it was unfortunately not an option. I decided to rented a U-Haul trailer with my father father and and we towed my car down to my friend. The process of loading the car onto the trailer was difficult, as the trailer we rented didn't come with a winch. After a few failed attempts at pushing the car up the trailer, I decided to try driving onto it under the car's own power. This was also more difficult than expected, as my engine had a lot more internal resistance, and thus made very little torque (It was barely able to stay running at idle). This made it most of the way up the trailer before stalling. For the last few inches, I bypassed the clutch safety switch to crank the motor in gear which was enough to get it fully onto the trailer.
 Once at my friends place, we got to work. It was raining but we didn't let that stop us. The first thing we did was remove the hood to get better access. We then began removing as much from the engine bay as possible. We started from the top, removing the wiring harness, fuel lines, the airbox, and accessories off the motor.
 Next, we jacked the car up and removed the wheels. You can see the rust on my brake rotors from sitting for a couple days in the rain. With the car jacked up, we could get underneath to drain the coolant which allowed us to disconnect the radiator. We then pulled the CV axles out of the transmission, pulled off the remaining fuel lines from the engine, and disconnected the exhaust.
 Here I am fighting the A/C Compressor which did not want to come off the engine block.
 Using an engine hoist, we started pulling up on the motor. This took the load off the engine mounts which allowed us to unbolt them from the car, leaving the engine freely hanging off the hoist. We hit a snag here as the exhaust manifold did not want to come off. We had little room to work with, so we slowly inched it out while raising and lowering the engine slowly to allow more wiggle room.
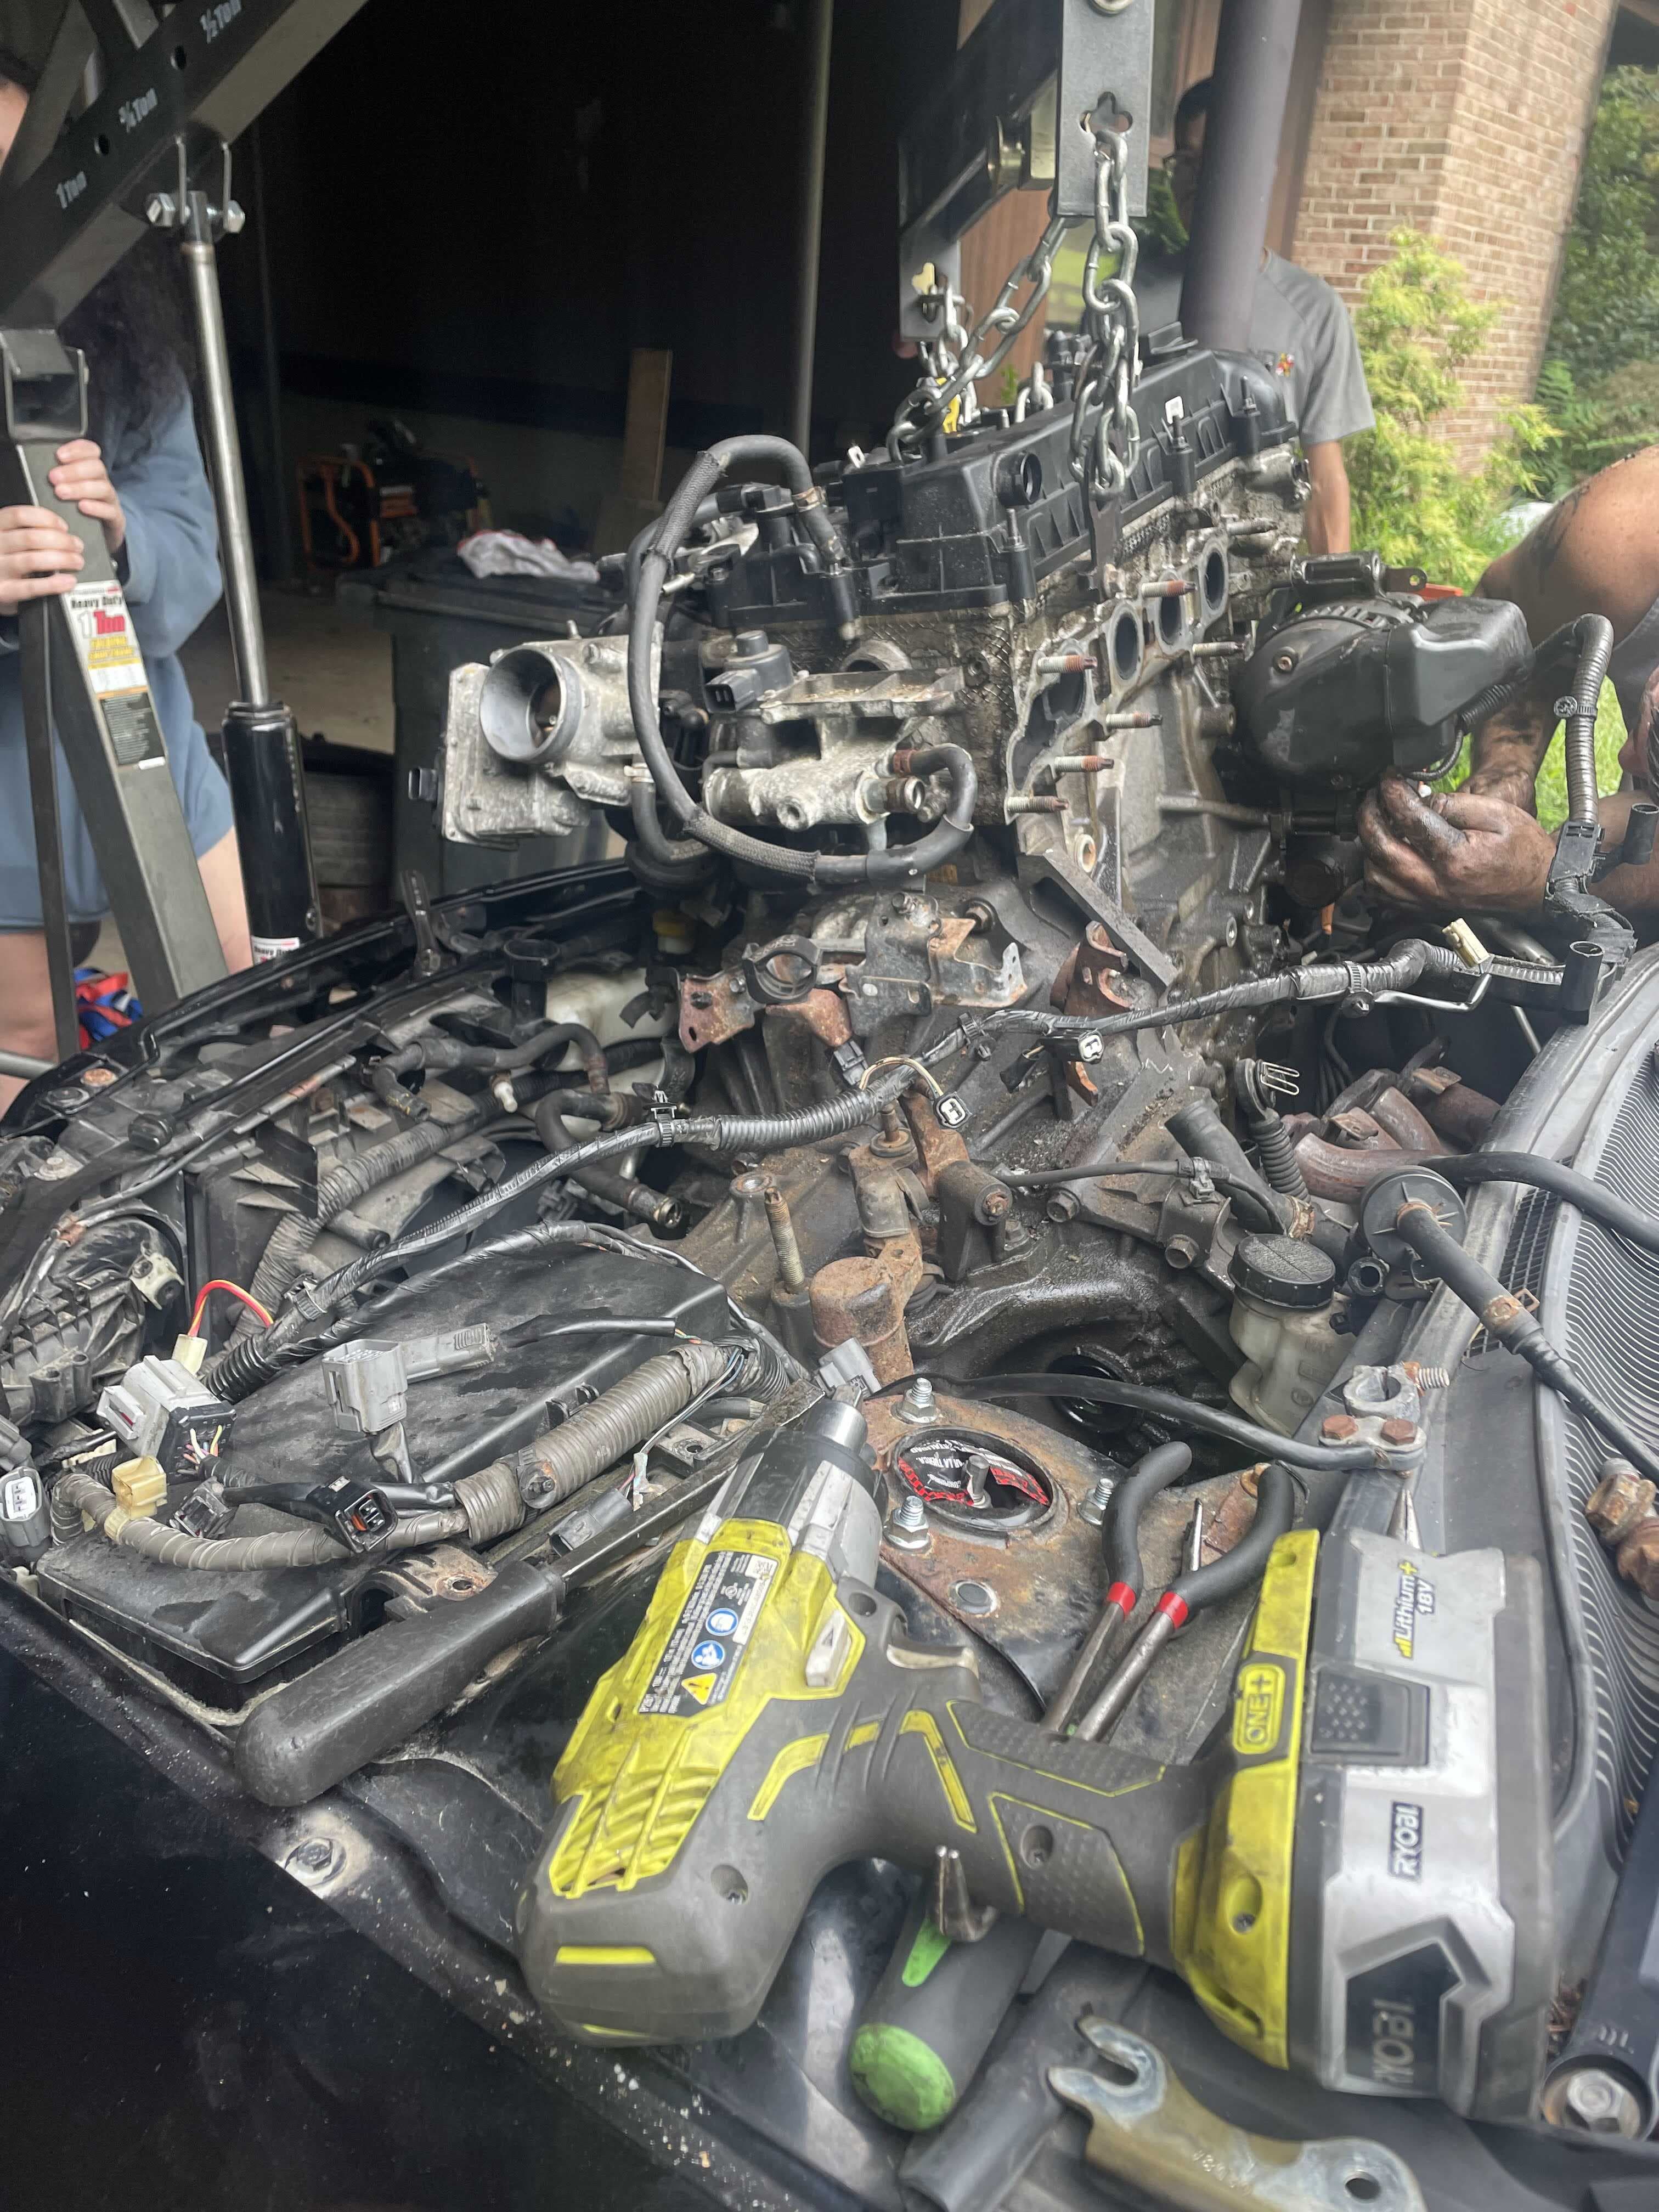
 Hours later, we had the engine out! You can see the transmission on the right side of the engine. My friend decided to take the engine and transmission out together. While not necessary, he said it would make swapping the clutch over onto the new engine easier.
 Above you can see the exhaust manifold that was giving us so much trouble, as well as what an empty engine bay looks like. Once we had the motor out, we called it for the day.
 I don't have any images of us putting the motor, as the process was mostly the same but in reverse. The A/C Compressor that caused us problems taking off caused even more problems putting back on. We spent about 6 hours of day two trying to get the stuck bolt out of the compressor. This wouldn't be a problem if we were in a shop, but we couldn't disconnect the A/C lines since the system was still charged with freon. This was the same case for the power steering pump, which we could have removed but left for convenience We eventually were able to get it out, but by that time we were running out of daylight and motivation. We dropped the motor into the car, but left most things disconnected.
 The third day went a lot smoother. We were able to reconnect everything and fire it up for the first time. It was breath-holding moment the first time I cranked it.I cycled the ignition a few times to build fuel pressure. I could hear the fuel pump priming. I cranked it. It cranked for what felt like too long before it sputtered to life for a moment. I cranked it again. It roared to life for a moment, before dying again. I tried a third time, giving it throttle. It had almost no throttle response but I was able to keep it running. My friend was able to hear a vacuum leak which was causing the rough idle. He plugged it with his thumb and immediately the engine idled down.Part of the plastic intake manifold had snapped and was causing a vacuum leak, causing the engine to run lean and stall out. We weren't sure if the engine came that way, or if it had been damaged in moving it, or if we damaged it lowering it down, but it didn't matter. We needed a new intake manifold, and to replace it we'd have to take the motor back out. We decided to patch the leak with JB Weld and called it good enough.To be clear, the manifold wasn't under a huge amount of vacuum, so we figured it would be strong enough to plug the leak. This fix lasted me 2 years and 20,000 miles without issue until I sold the car.
 After ensuring everything was running right, we buttoned the engine bay up and let the JB Weld dry. The next day, I took my car for a test drive. It felt so good to be driving my car again. Unfortunately, I didn't get too far before I noticed the temperature gauge slowly rising. Uh-oh. I pulled over and checked my coolant level. It was significantly lower, meaning there was just some air in the cooling system. I topped off the coolant and turned on my heat to check if the system was circulating correctly. Slowly, my coolant temperature gauge climbed back down to normal.
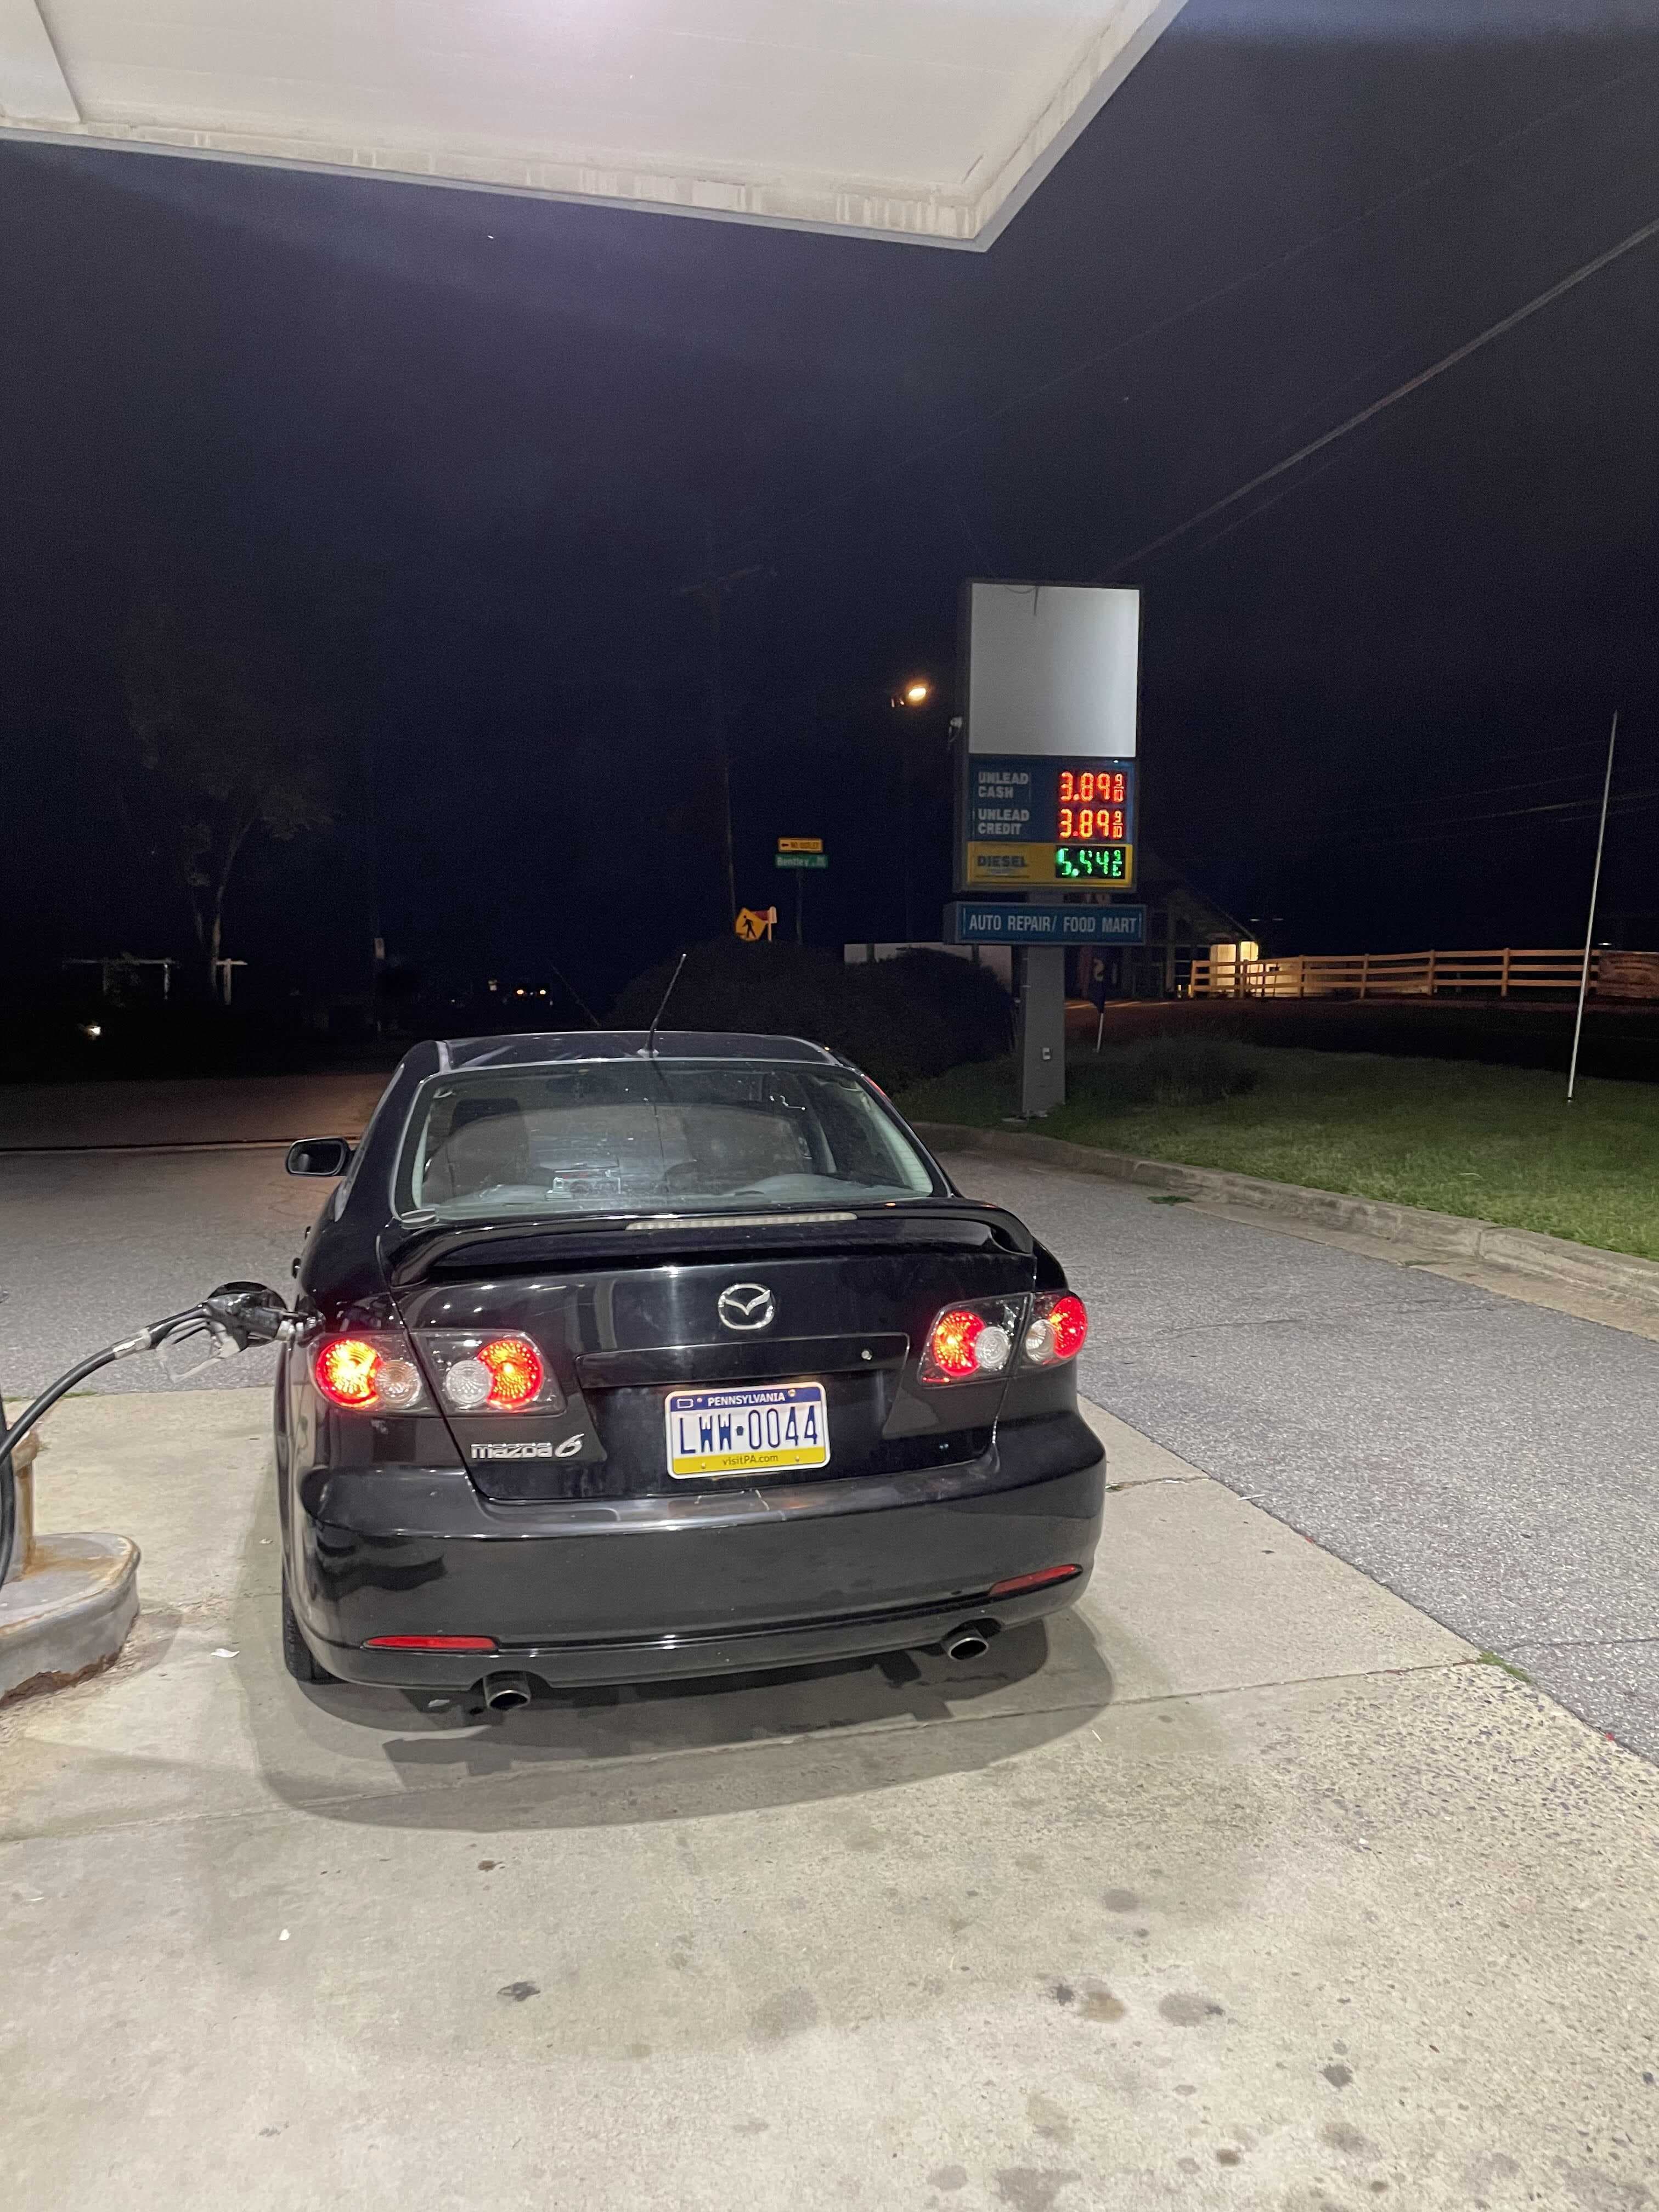
 Victory drive!! After ensuring everything else was working as intended, I took my car out for a night cruise and enjoyed every second of it. We had brought my car back from the dead. As stated earlier, I got another 20,000 miles out of that car before I upgraded it for a Mazdaspeed 3